Hey, folks! Back with a quick follow-up to the buildings tutorial. Now, as I said previously, If you’re looking to eliminate lingering or glaring print lines, water down some Perfect Plastic Putty, brush it onto those spots, and run a file vertically up and down the building a bit. But, I didn’t do that for mine, so we’re going to go through a super simple method using a reject print!
In this first picture, you’ll see some raw 3D-printed plastic, and that transitions to a primed area. Again, I find Rustoleum oxide red primer to be the king of cheap primers. It’s a perfect mix of gap filling but not detail obscuring, it’s dirt cheap, and it sands well.
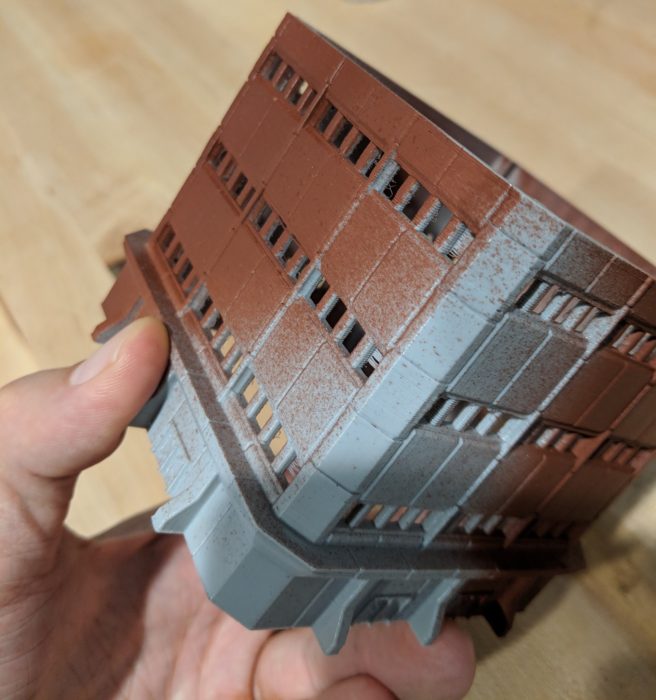
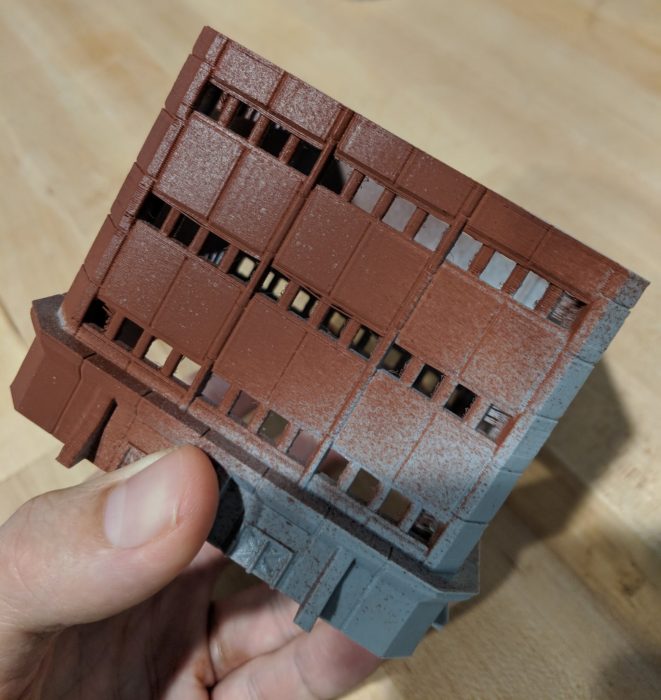
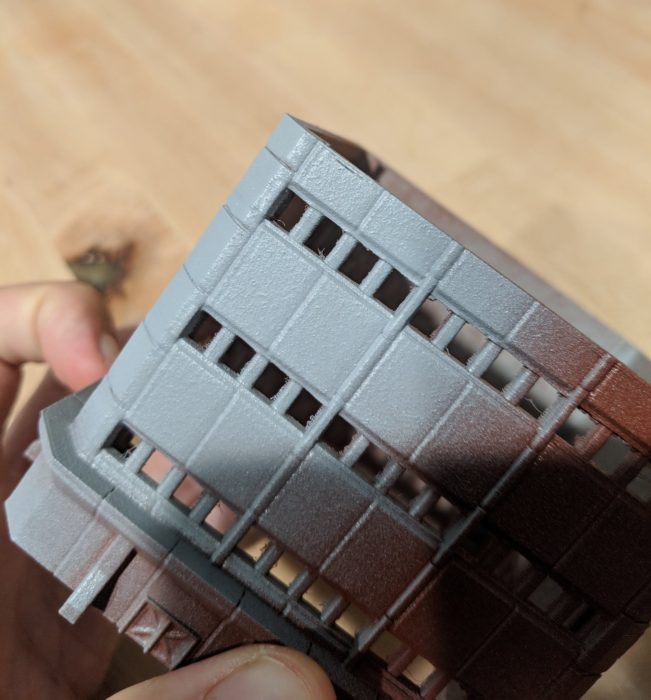
Next up, you’ll see that primed area where I added my trusty textured spray as it starts to transition to the grey spray paint I’m going to use as my base color for the paint job. Even on the area with just the red primer and texture spray, you can see how the print lines have already virtually disappeared.
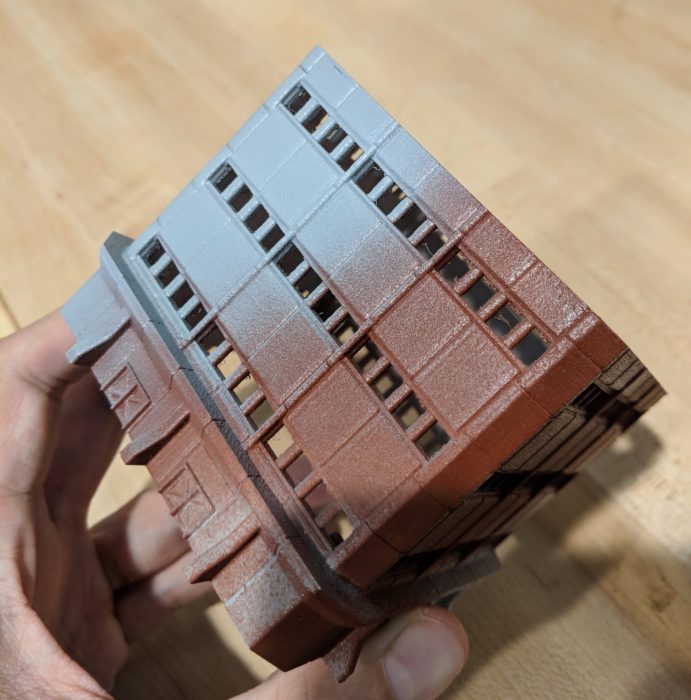
Last but not least, my final base color goes atop the texture spray. If you’re not happy with the degree of texturing, go back and hit it with a second coat — this stuff is tough, and helps give your model a nice protective shell, to boot.
…And that’s it! Granted, vehicles are going to require some putty and manual work (and don’t lend themselves to this texture spray shortcut), but you can have a batch of buildings or city blocks fully prepped and ready for paint in no time flat with this method. Happy painting!