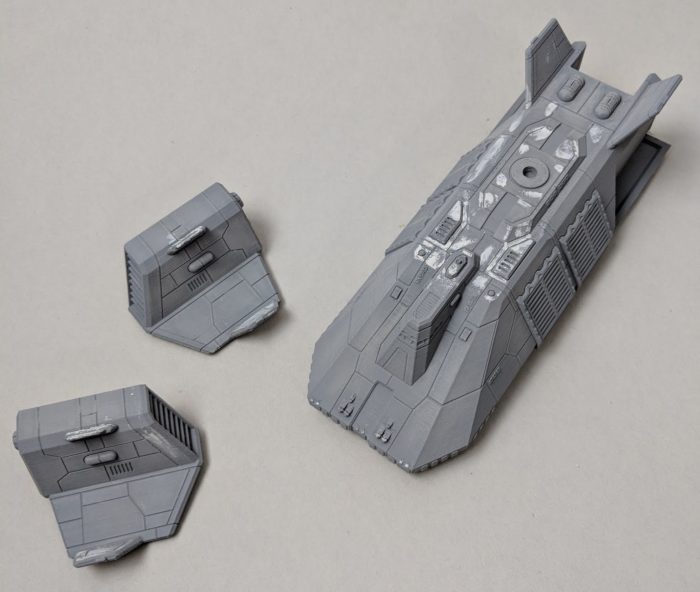
Over the next several posts, I’m going to walk y’all through a build of our (version 1) Gepard Dropship. Since this log was written, some changes have been made, but those will be covered in a different log, as most of the steps are the same. I’ve pulled an especially problem-heavy print so I can walk you through the worst case scenario in every instance.
First off — tools I used for this build:
- Tamiya Fine Grey Primer
- 400-grit sandpaper
- Aquacoat (optional)
- Tamiya Putty
- Small files
- MiG Jimenez Dry Pigment
- Airbrush (semi-optional)
- Mr. Hobby Superclear Matte Coat
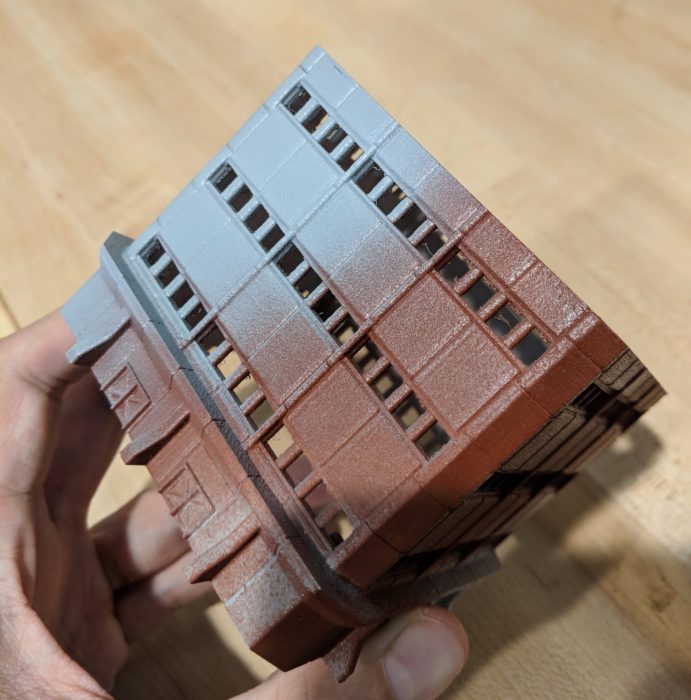
I’m going to start out with a very scary image:
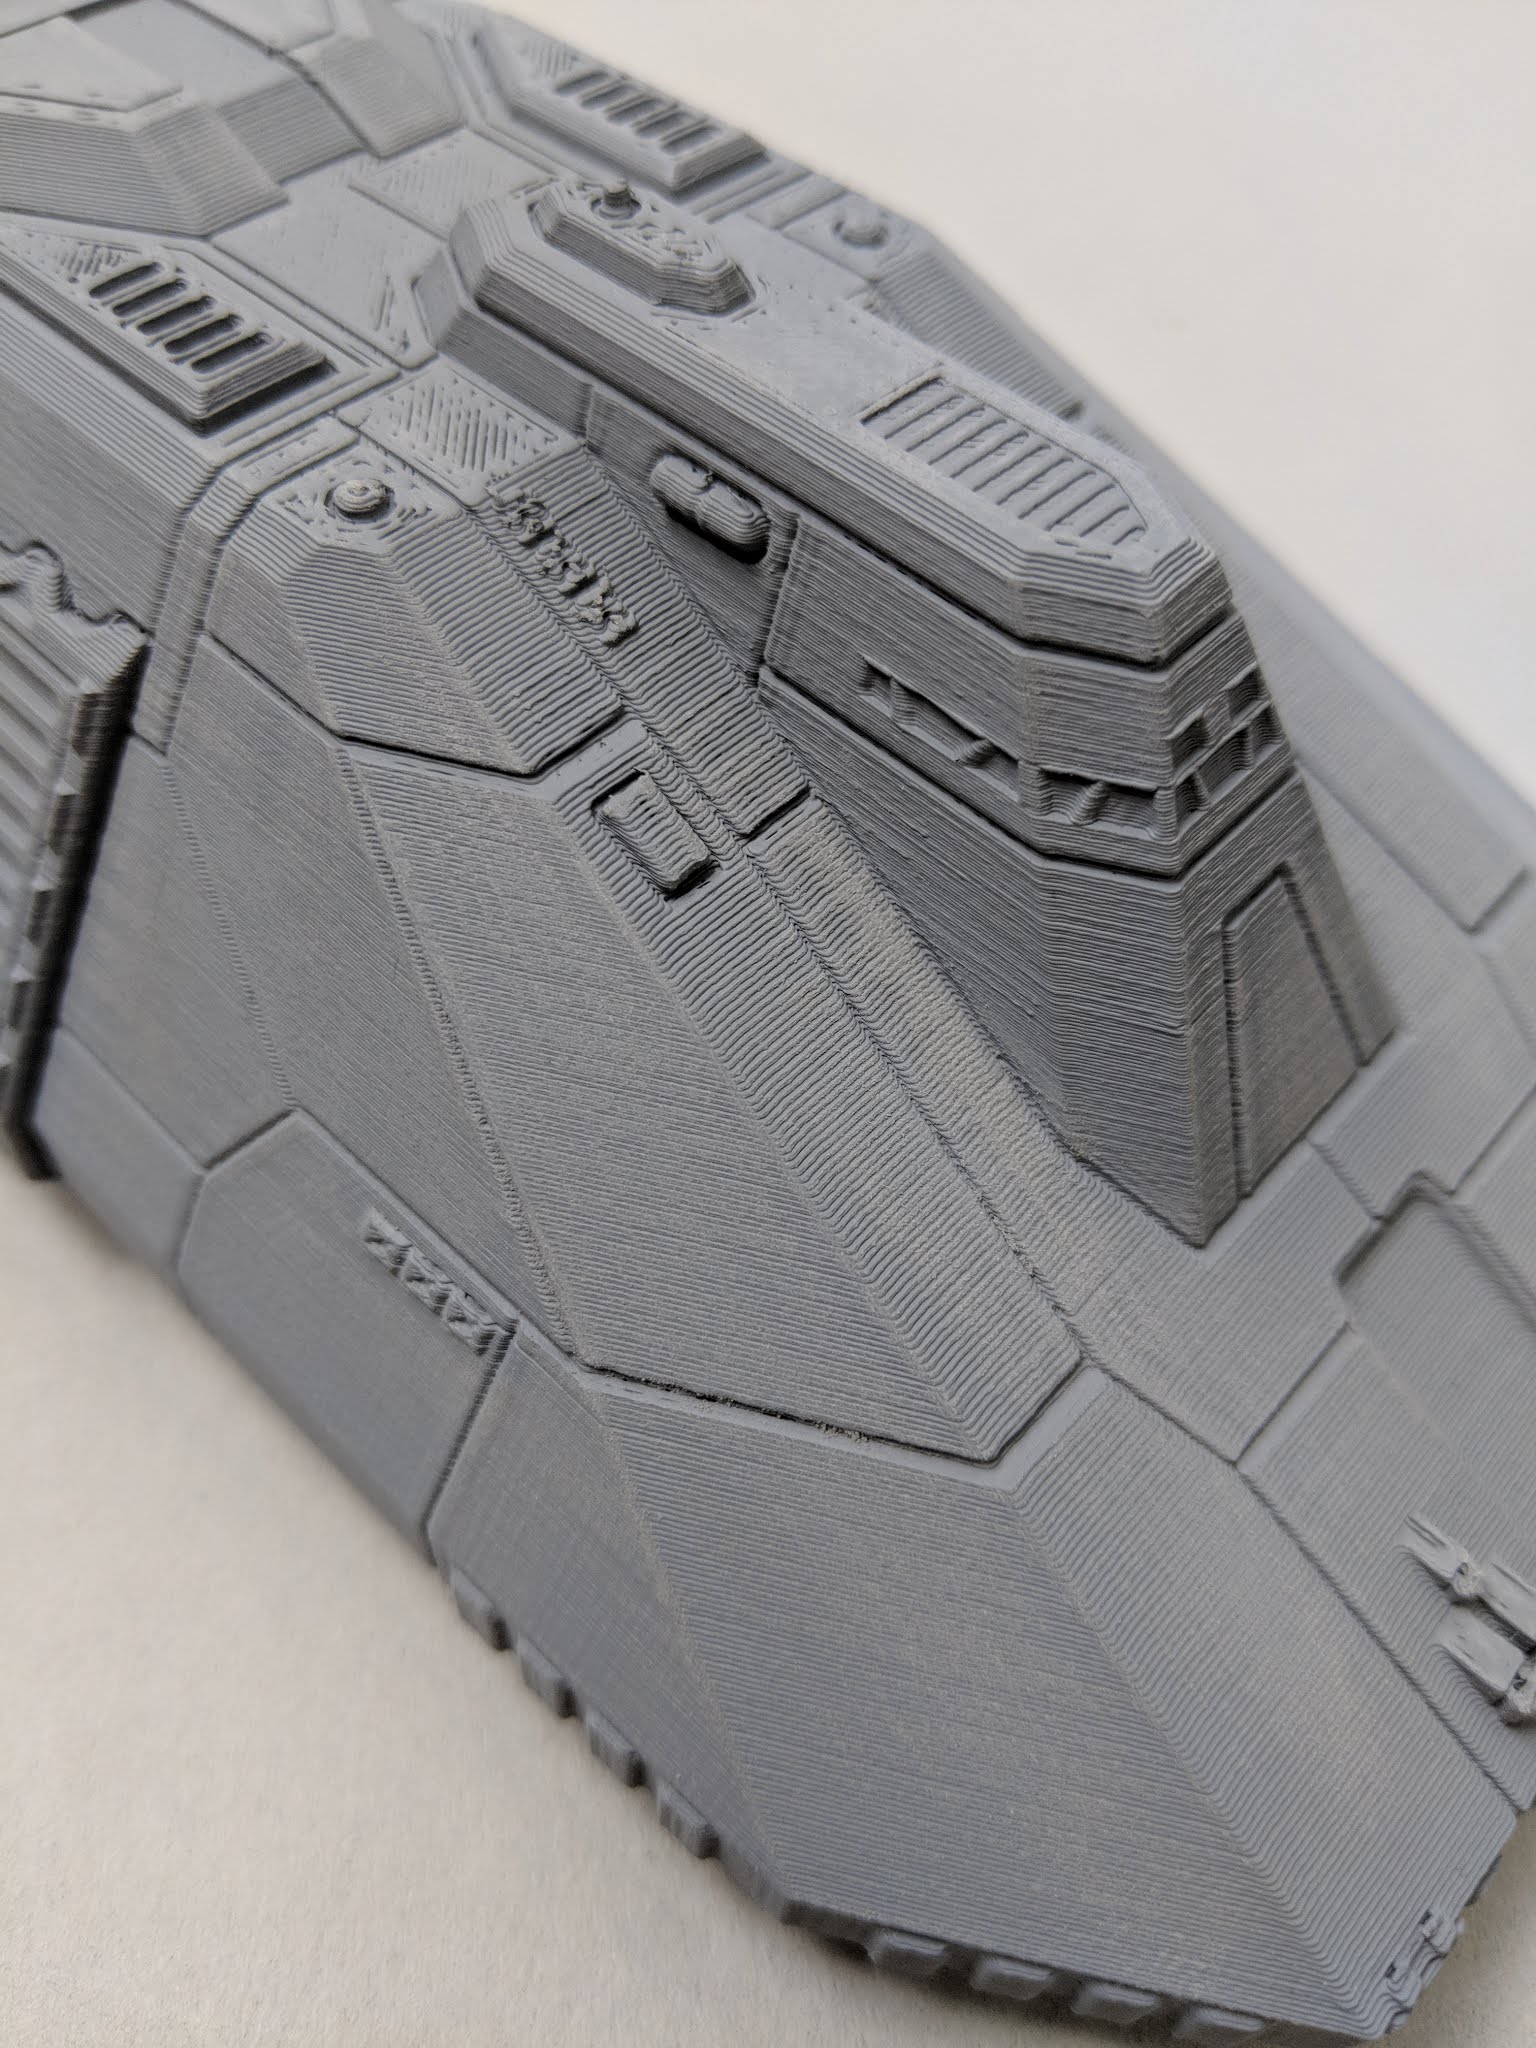
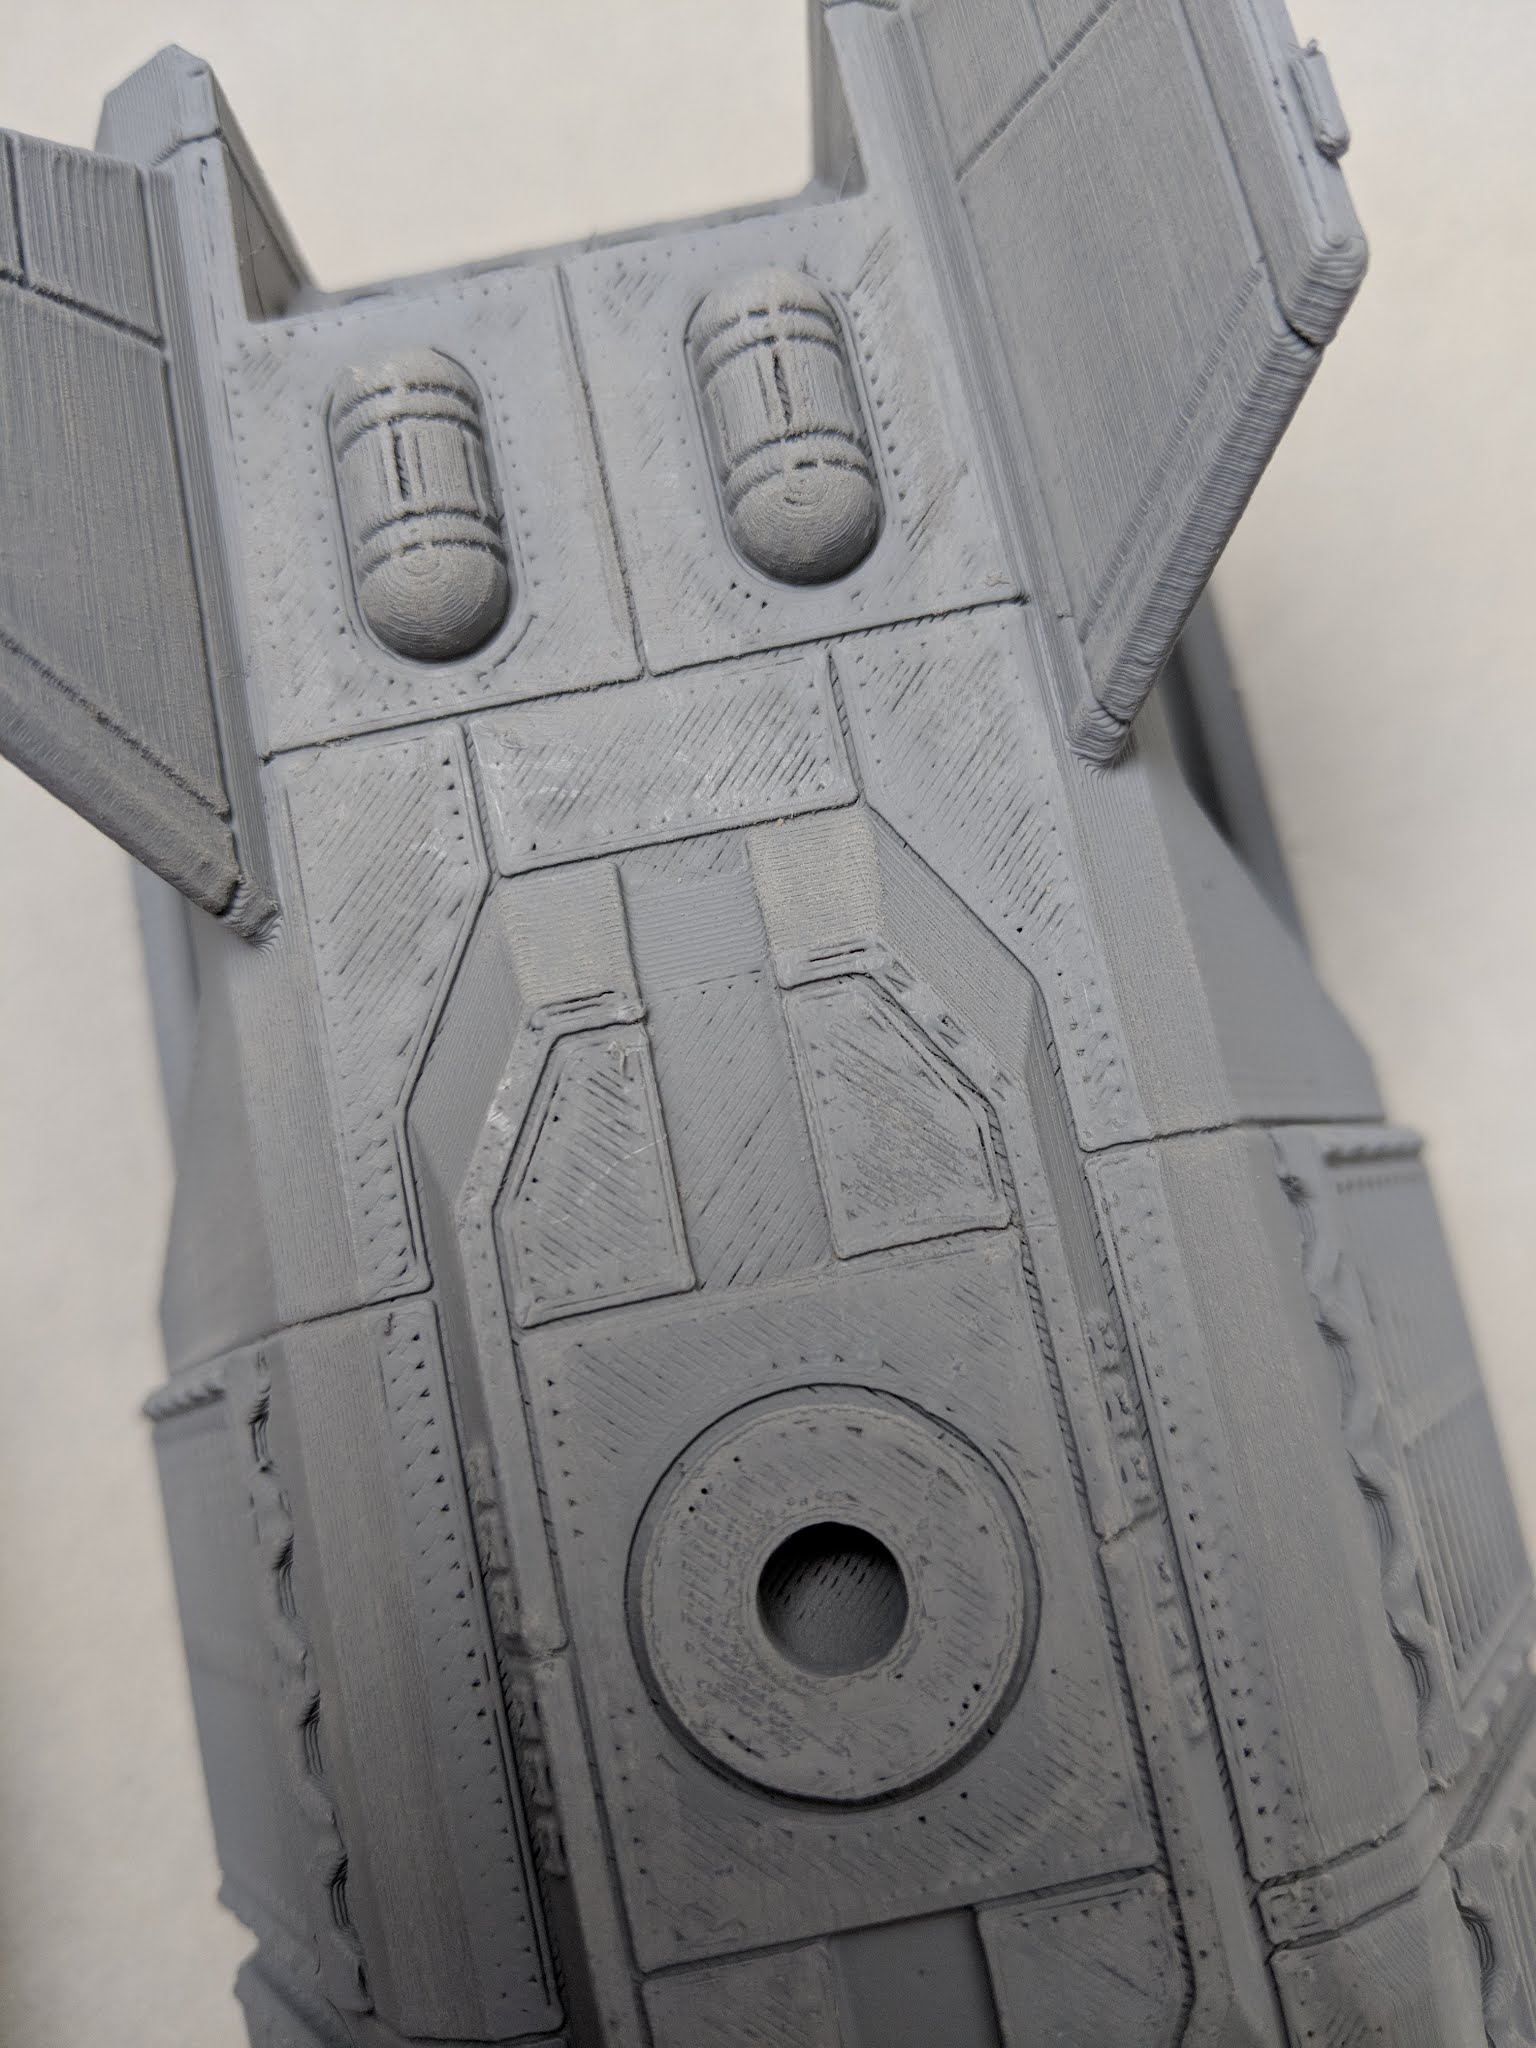
Those are print lines, and this is what you see after your first coat of primer. A little terrifying a first to many of you – (I was in that club myself for a long time) – but it’s not really that big a deal. This was an early prototype print that had more problems than most, and the paint helps to really make those problems pop. Here’s a shot of the engine after primer:
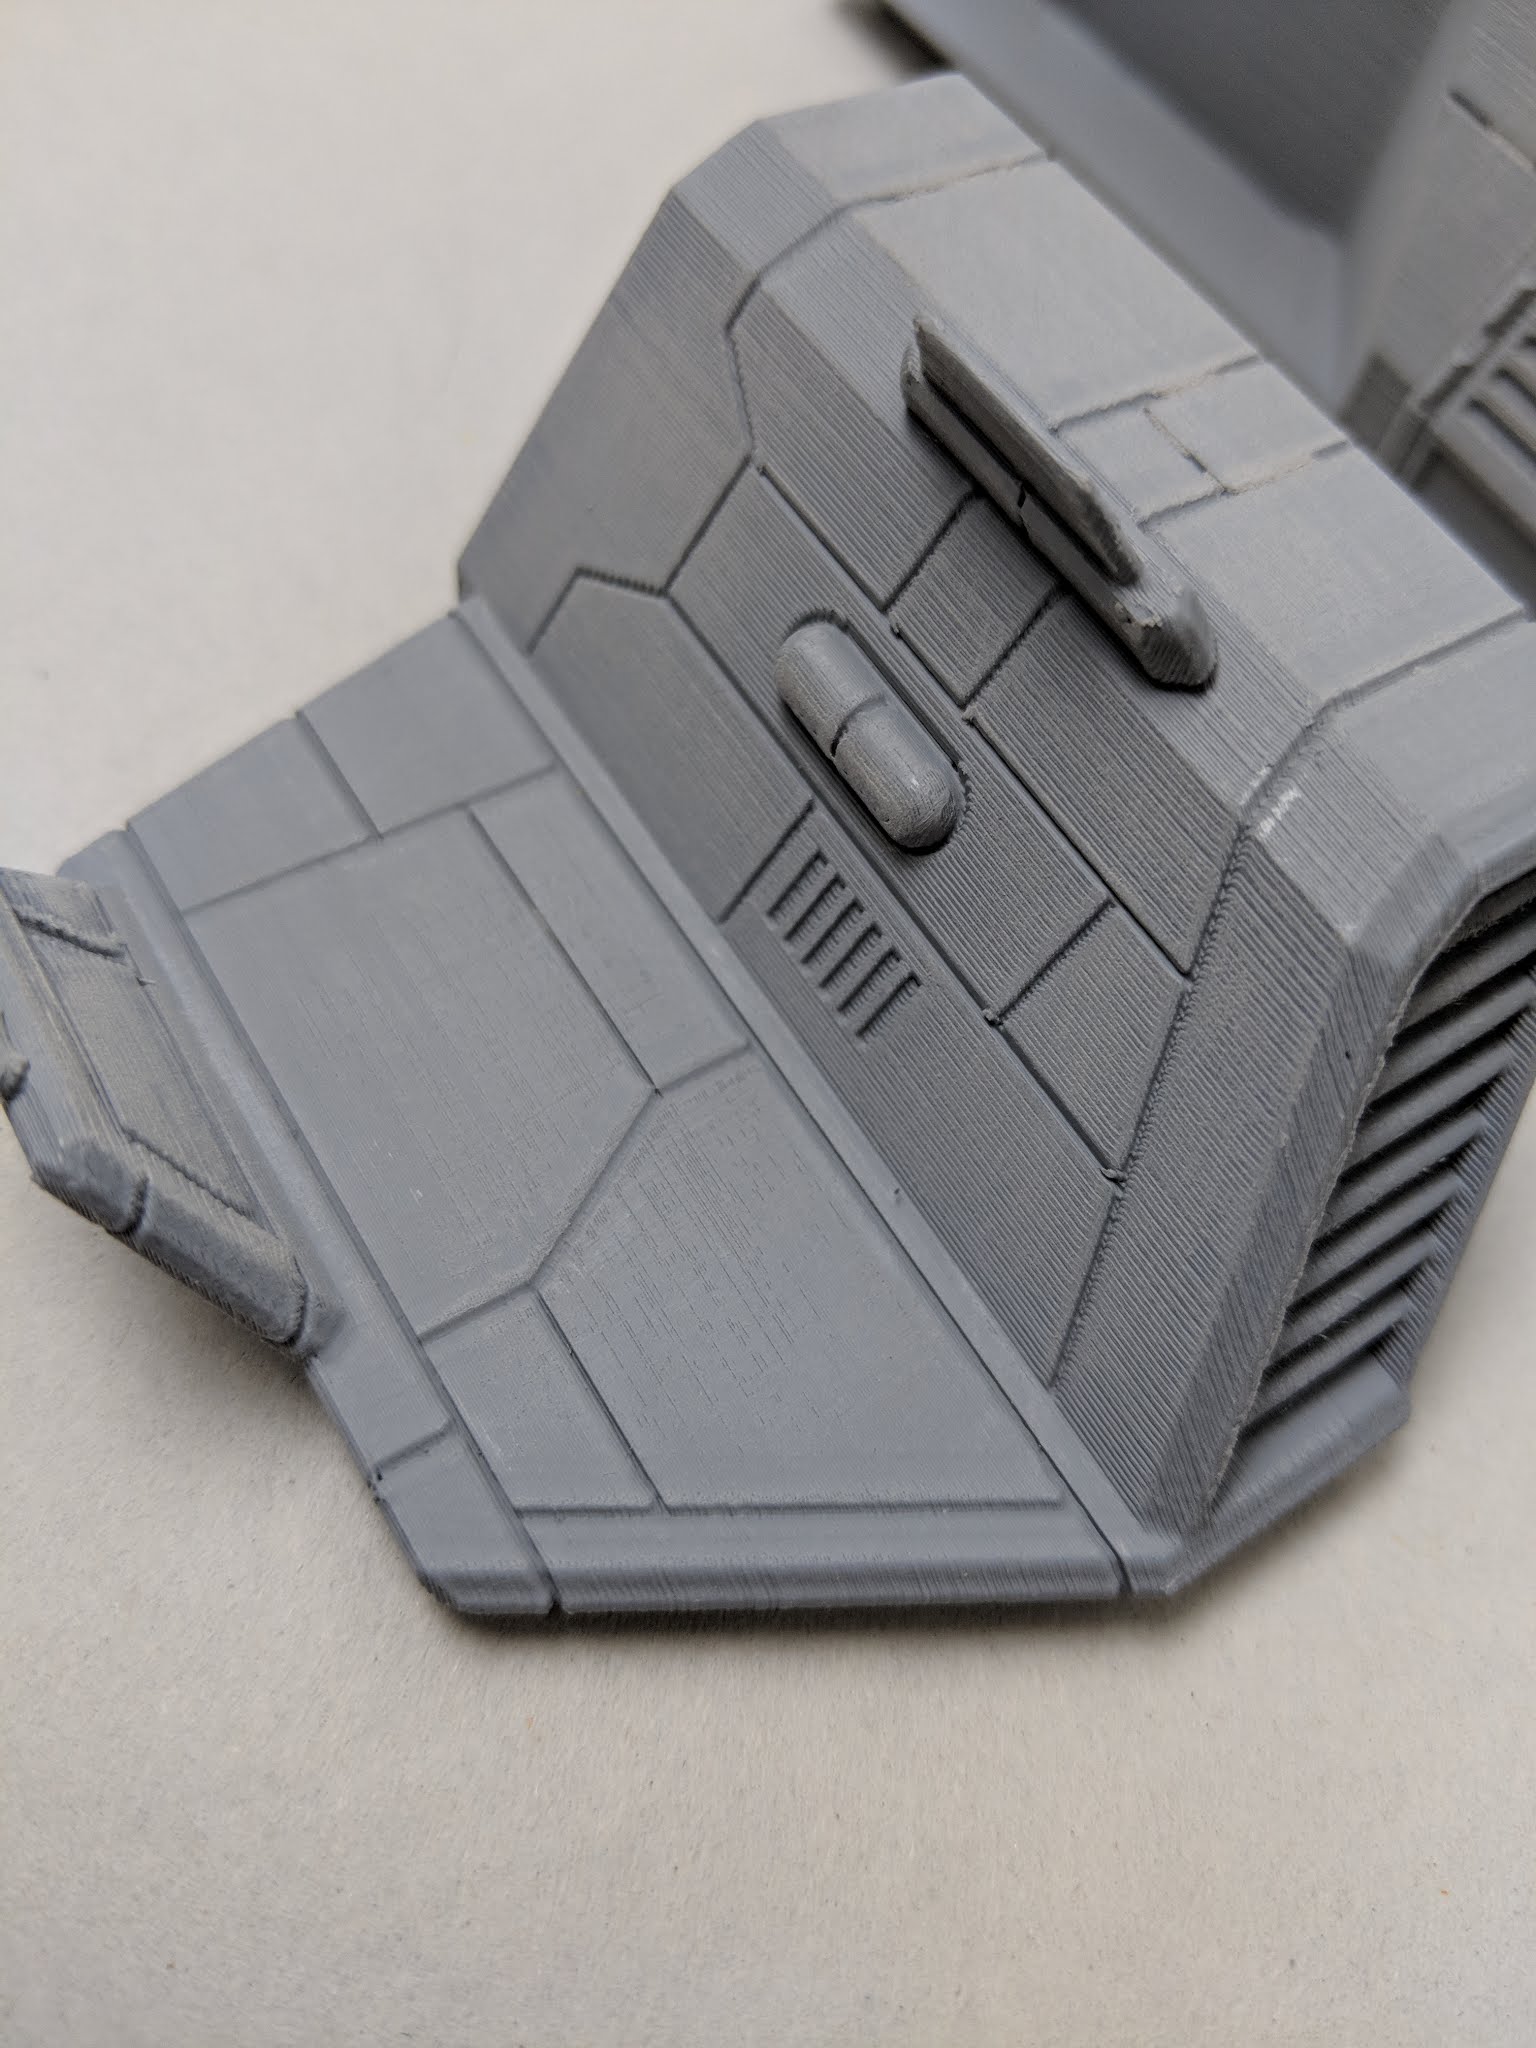
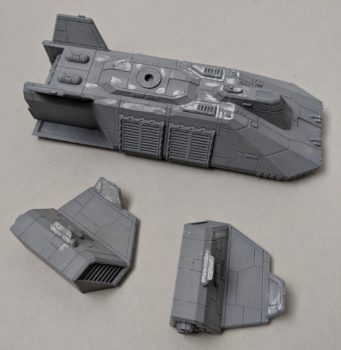
So, the first thing we’re going to do after putting a coat of primer on the three FDM (the grey parts, not the resin turret) parts is we’re going to grab some 400 grit sandpaper, ripped into small (1″-3″) pieces. This is going to be one of our main weapons in the war against print lines. This sandpaper is going to be doing two things at once. First, it’s going to knock down the ridges a bit. Second, it’s going to push small amounts of primer into the grooves between. As a result, when we’re sanding, we’re always going to be trying to go perpendicular to the print lines with our motion. Here you can see how very quickly some of these lines start to meld together on this tailfin:
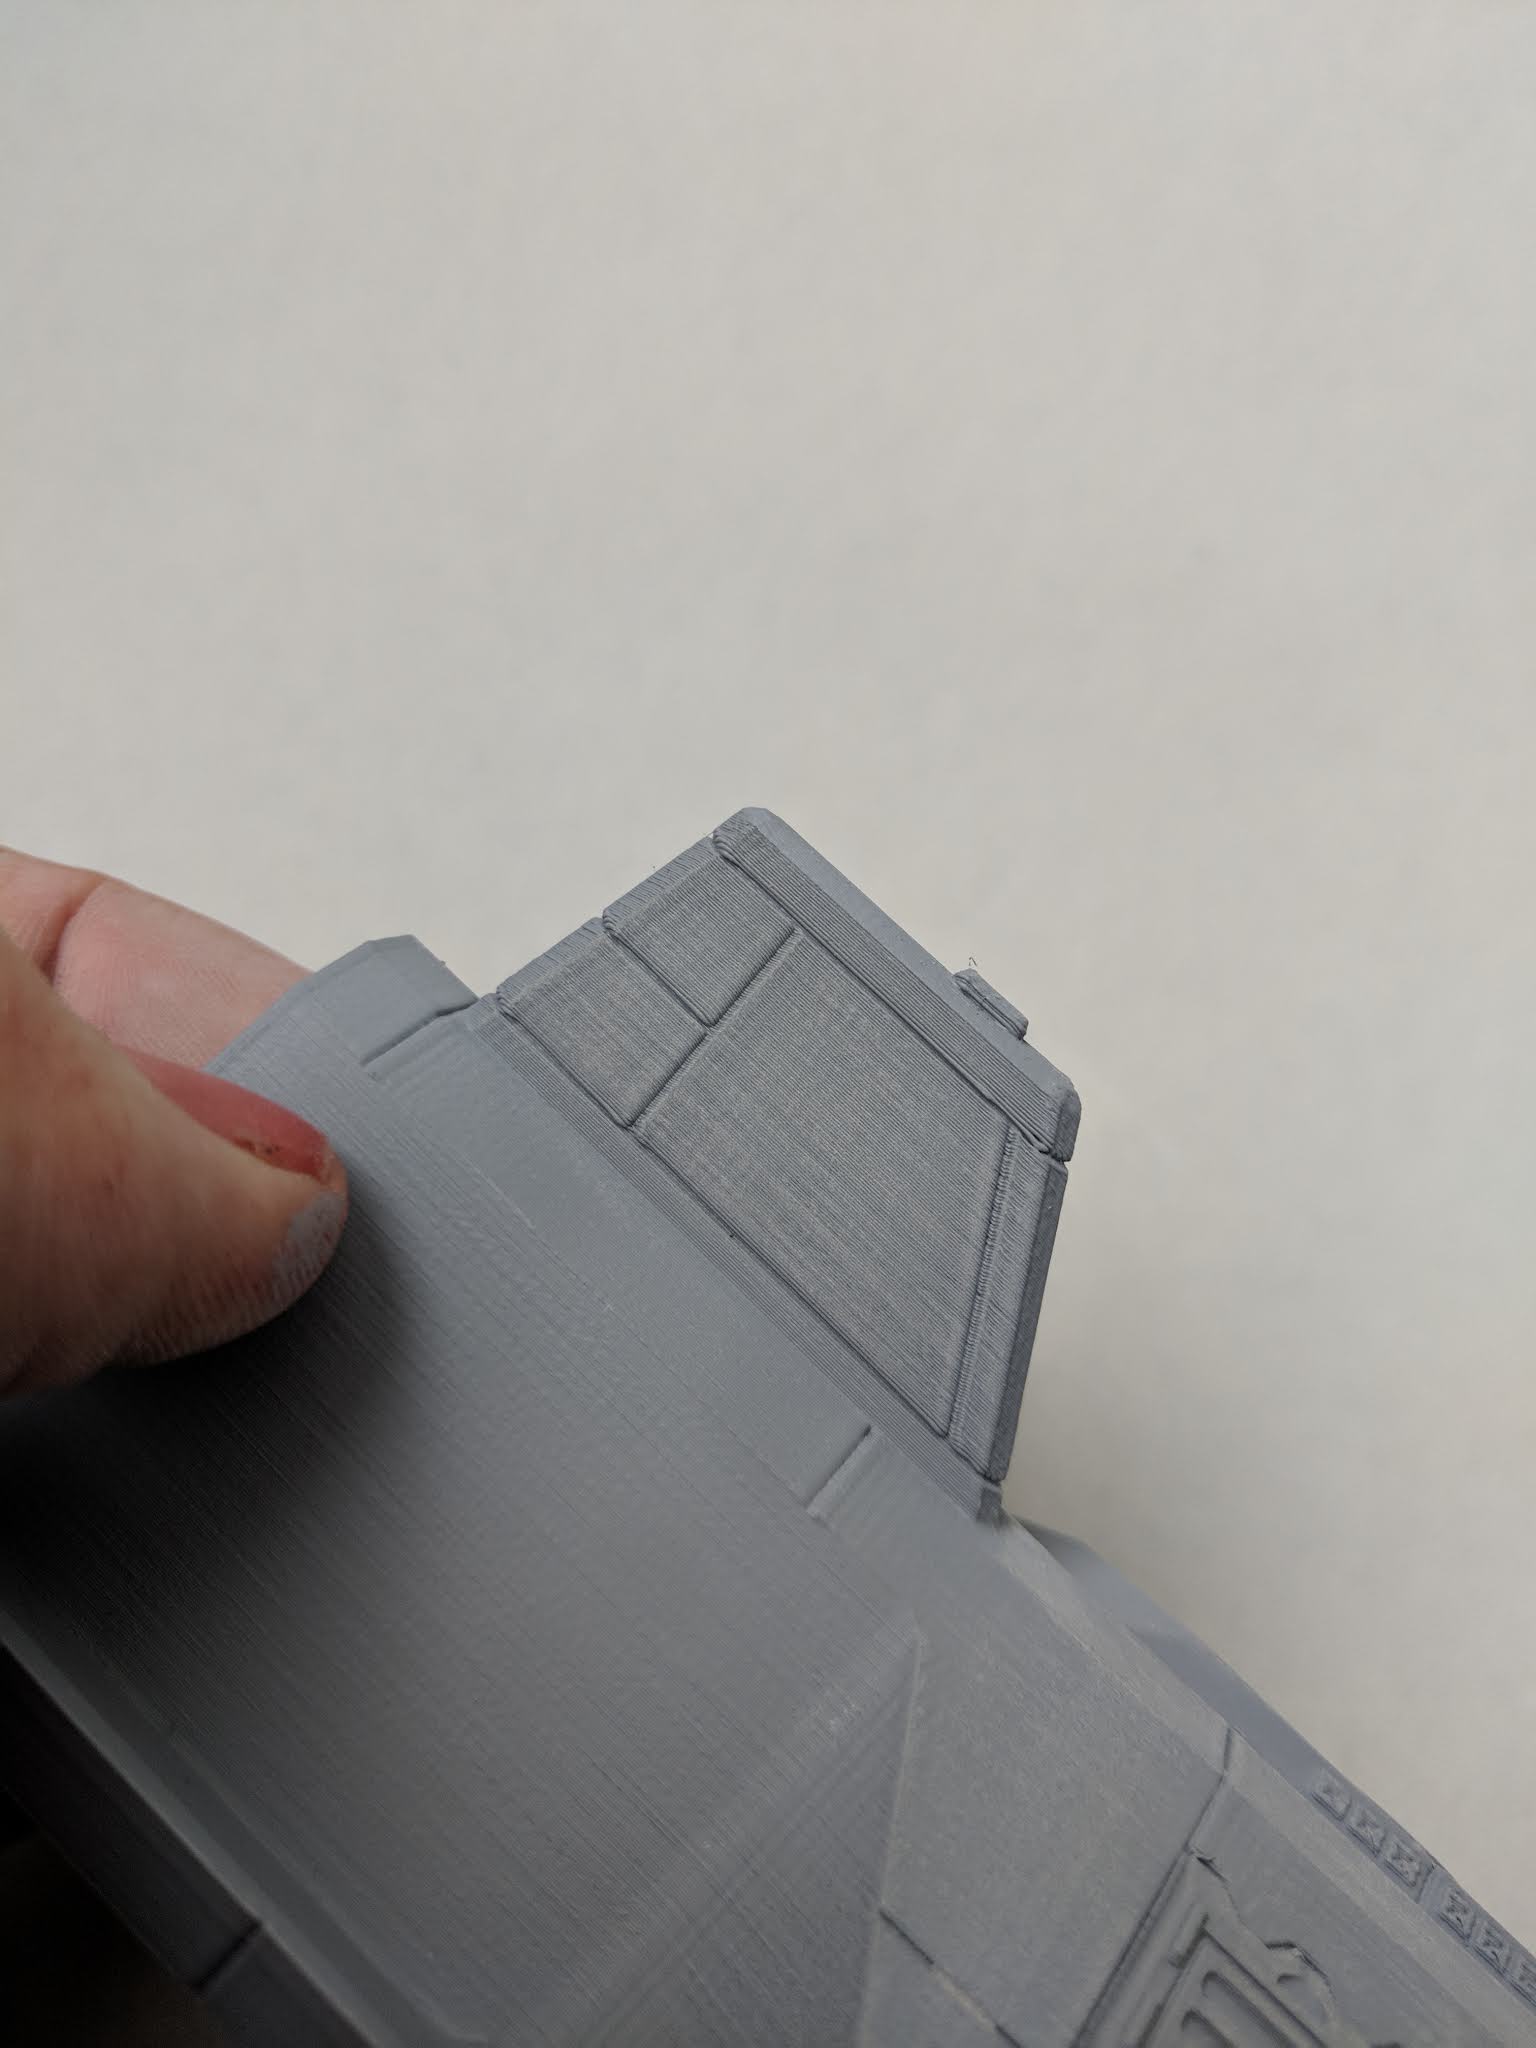
After a first pass on the sanding, I’m going to start to focus on some problem spots. I pulled a particularly poor example off the line, so I’m going to wind up with some funky spots, some of which will appear for many of you. In particular, flat surfaces like the top here have a number of gaps that need filling:
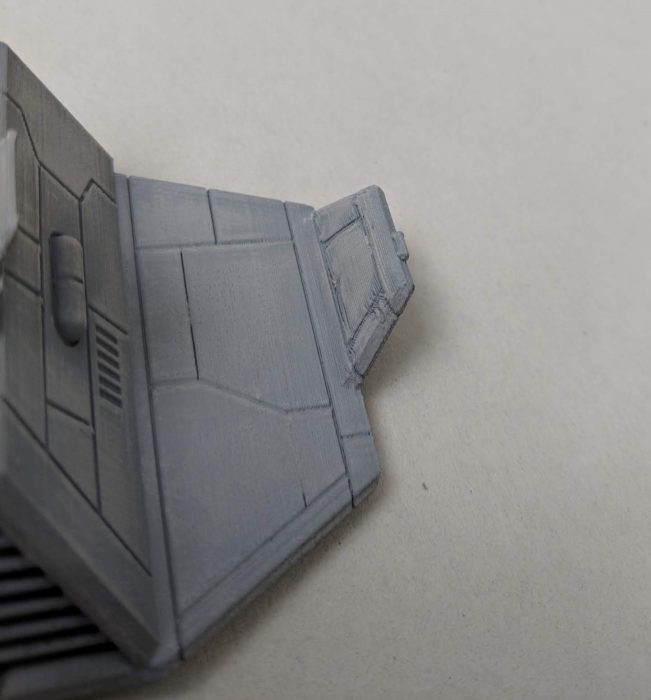
…and the panel lines on this wing tip have gotten a bit funky:
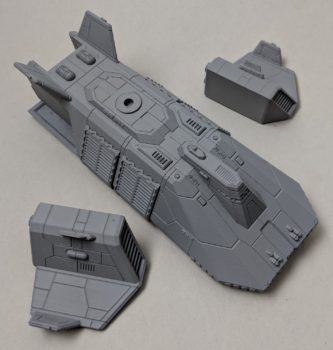
This is where our Tamiya putty starts to come on. This stuff is versatile and good to have around, and it has the advantage of being softer than the plastic you’re working with. That means that if you accidentally get some in the crevice of a panel line, your files, panel scriber, or hobby knife will naturally follow the guidelines of the hard plastic and cut through the softer putty instead. As a result, I go pretty heavy with the stuff. Here’s my first application:
After I apply, I lightly buff the areas of the putty with my 400-grit to get the surface smooth and flush. This fills gaps and ridges between layers. If you’re wondering how much to sand, don’t fret it. Apply medium pressure, and do it lightly. 400-grit is very forgiving, and you’d be hard-pressed to really screw up your dropship with it when smoothing these flat planes.
The next step is small but very important: before going to put on our next coat of primer – these successive coats are a major force in smoothing these ridges – make sure to blow the dust out of the panel lines, or they will be clogged and sloppy. Skipping that one second step is going to be a major headache, so don’t forget. Here we are after the next coat:
This should be somewhere between 20 and 40 minutes work, depending on how fast you go. That’s all for this installment!