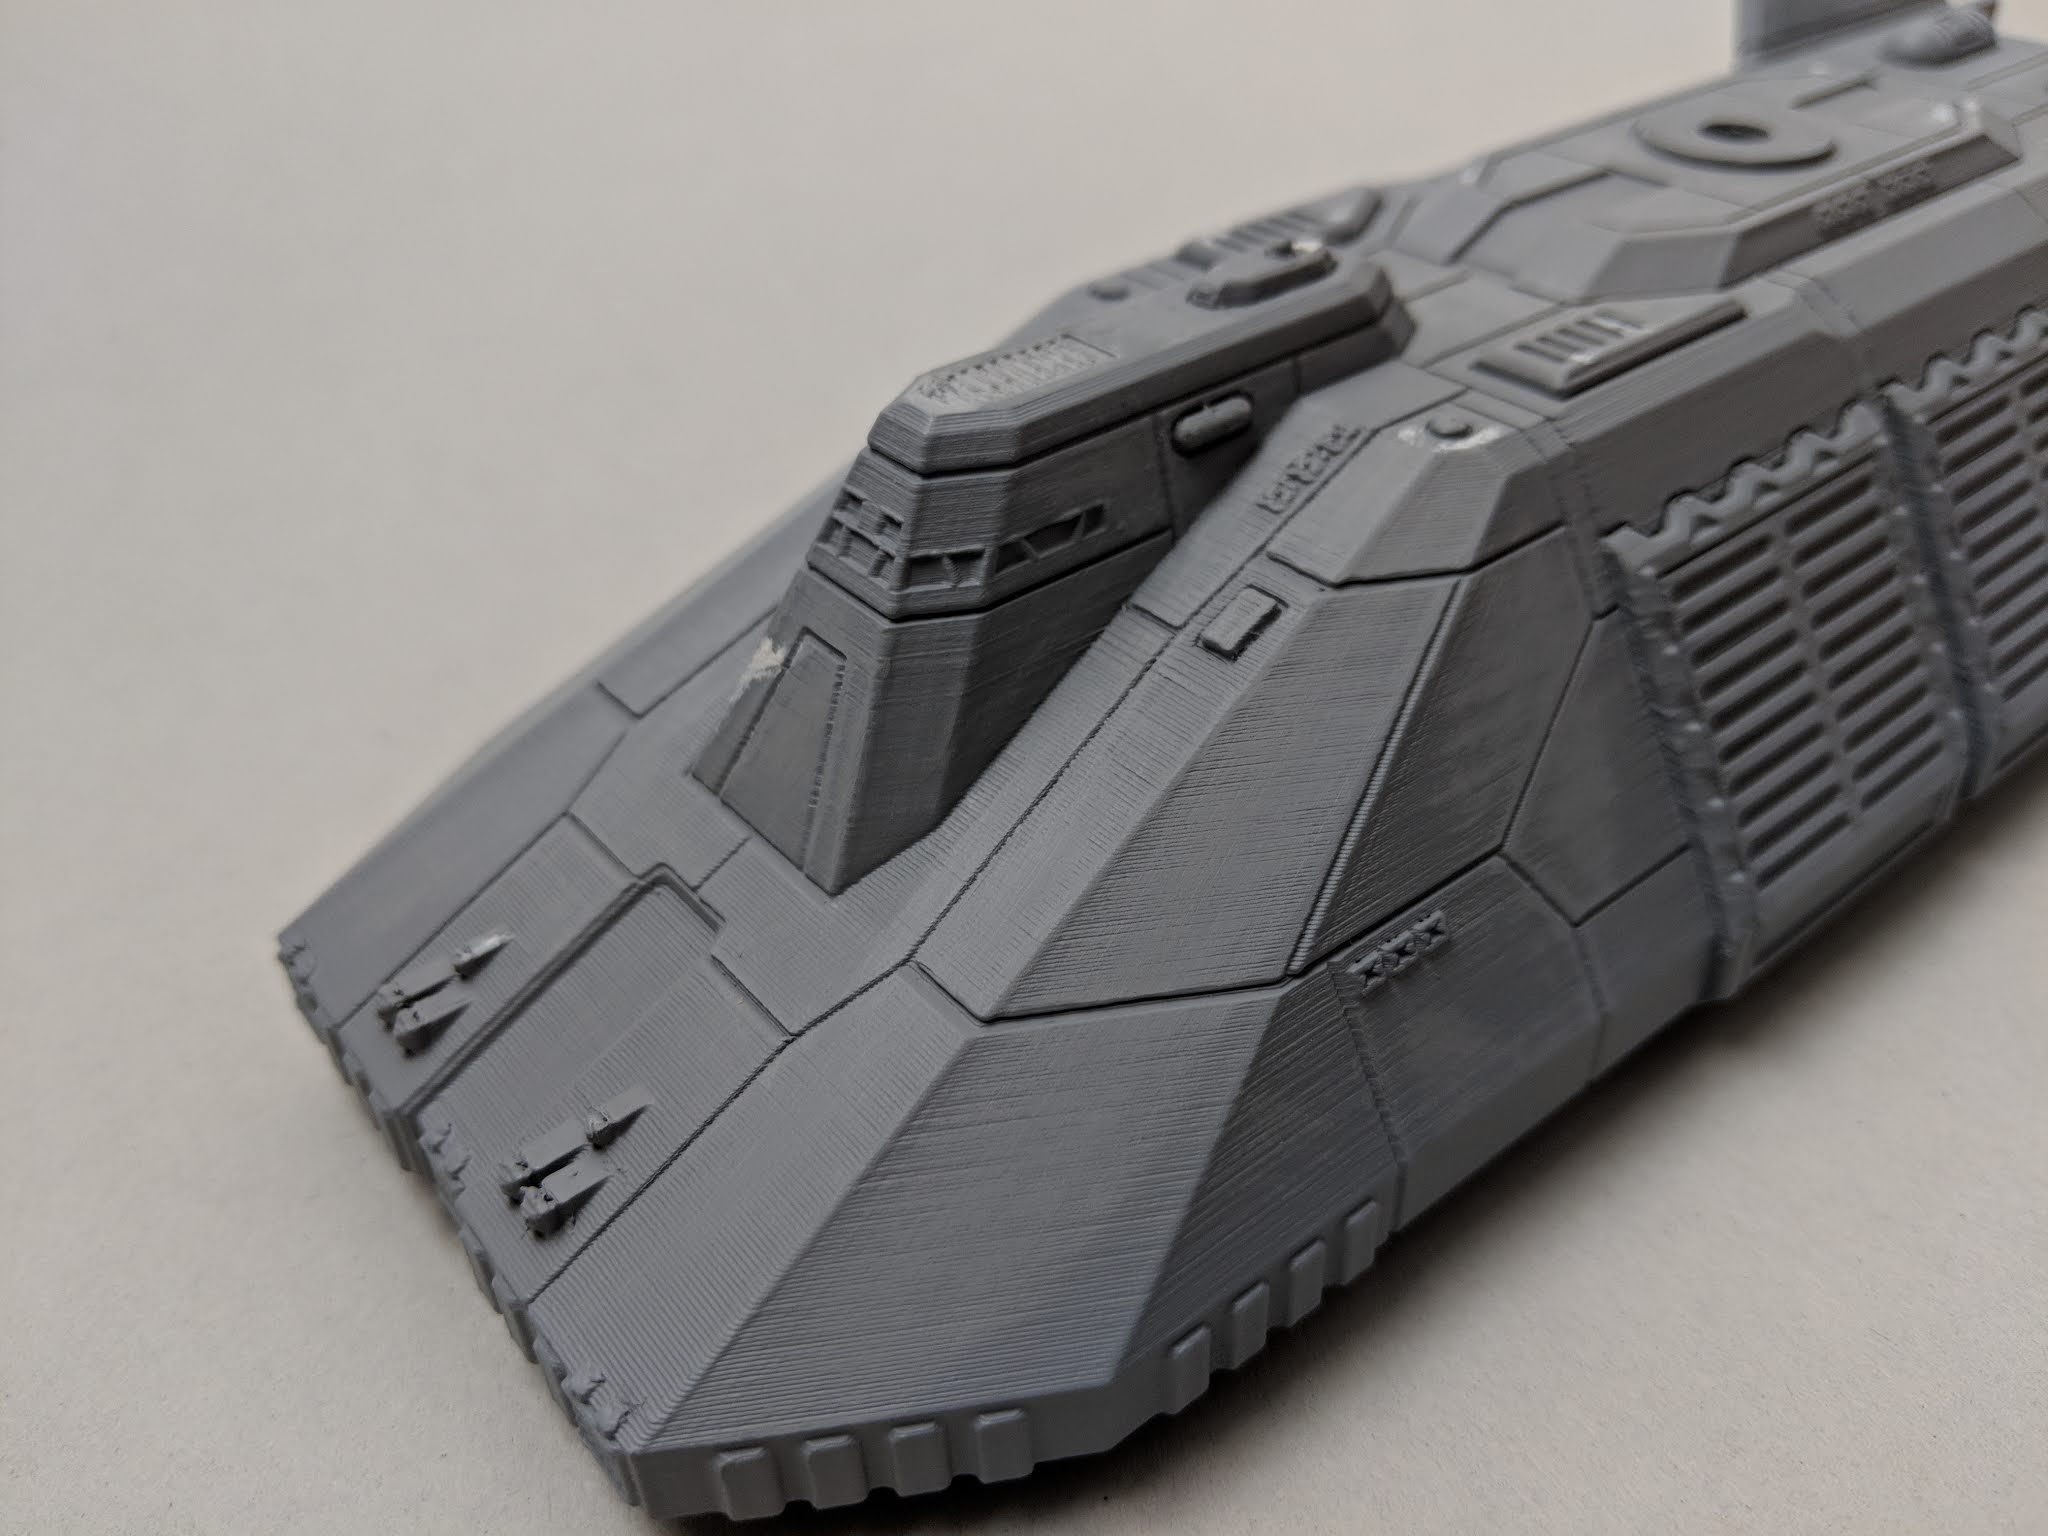
Good afternoon, folks! Let’s continue with our build. The next step is simple: It’s rinse and repeat of the last step. We’re basically going to apply putty, scuff with 400 grit to knock off peaks, prime, and sand with 400 grit until we’re happy. You can see some of the effect of that below as the print lines on the angled panel start to come together:
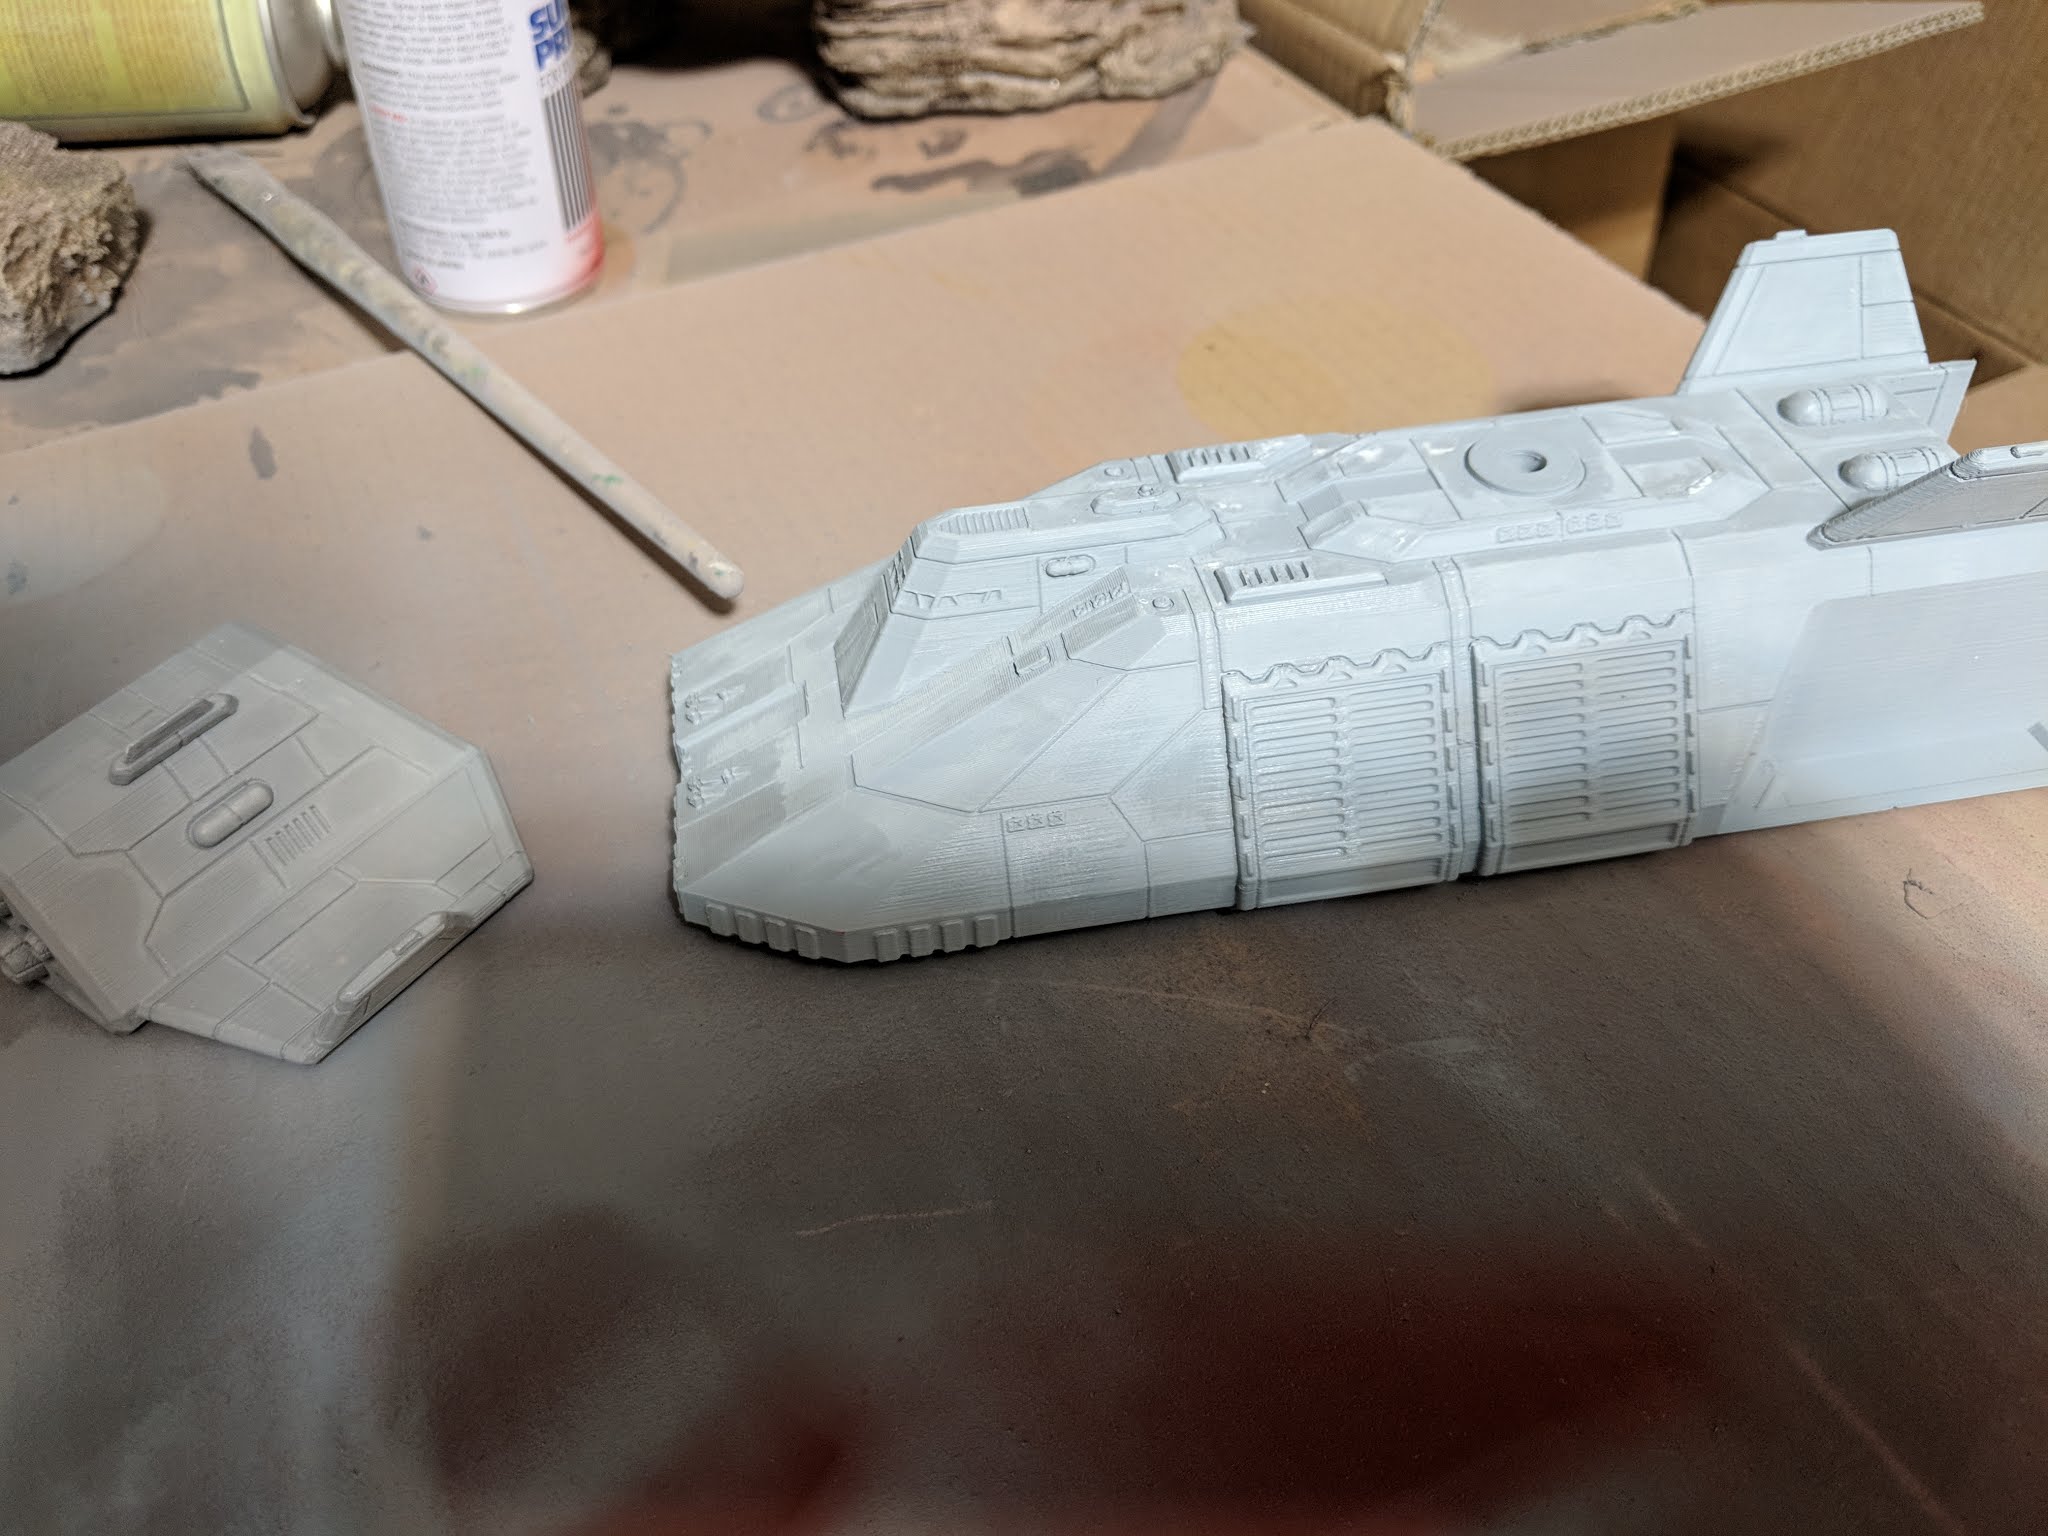
I do a lot of wood work, so the more I looked at the print lines, the more it reminded me of filling pores in oak, so I thought this putty might suit the job. For my money, I think you can probably just use the Tamiya Putty or the primer and be okay, but I did really like the way pore filler works. It’s mild, you can’t really screw up the model with it, and it waters down and cleans up nicely. I diluted the putty about 1:1 with water and applied it with a brush — you can see the shiny sections are where I applied it below. PVA glue or matte medium will also serve well in this role as general softeners of holes and whatnot.

And that’s basically it for body work! Just repeat those steps until you’re happy with it; that could mean doing it once, or doing it eight times. I think personally I did 4 or 5 rounds. Next up – pre-shade and paint.