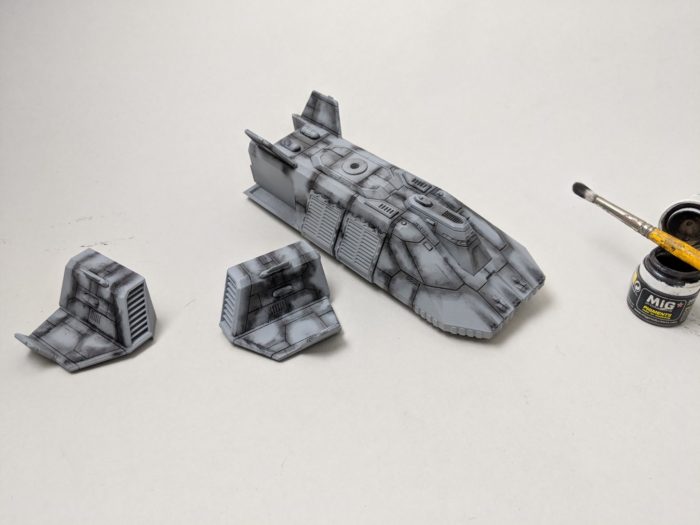
Here we continue onto the fun part — paint! Our dropship is now prepped, surface-wise to the degree we’re happy with, and we’ve kept it unassembled. So, for the next step, I took by black dry pigment and roughly applied it along all the panel lines. No subtlety here — we’ll tone it down soon enough.
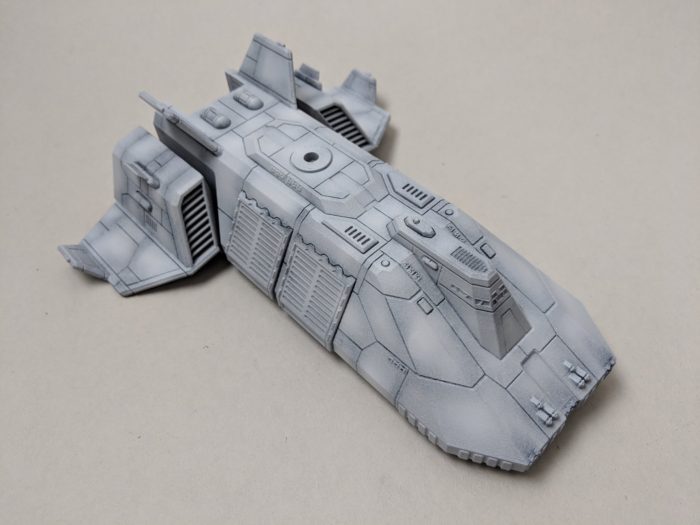
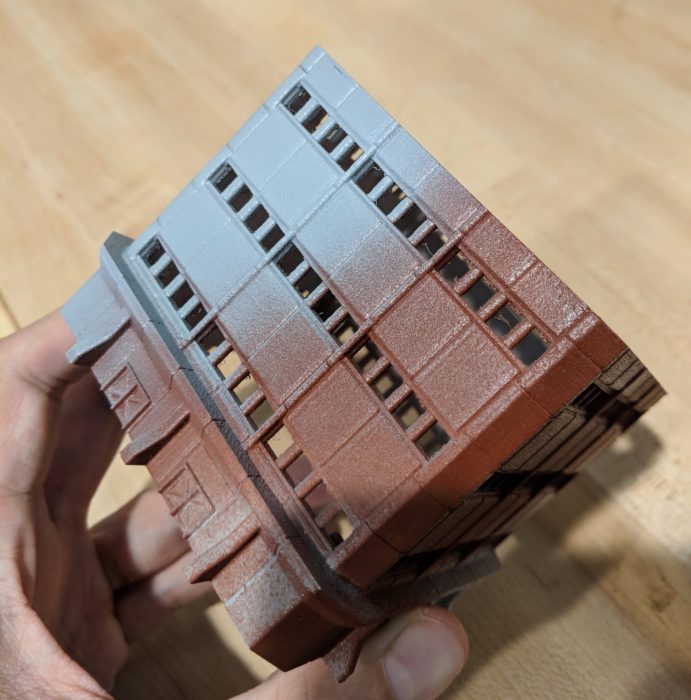
After you’re done, blow it off gently to remove any lingering clumps of pigment, and then seal it with your clear coat. Next up, we’re going to soften the color significantly. If you have an airbrush, use that to apply a very light or translucent coat of white; if you don’t, you can simply mist white Tamiya Fine Surface primer over the ship. I did the latter, as I find cleaning my airbrush to be a big ol’ pain in the booty. You should get something like this:
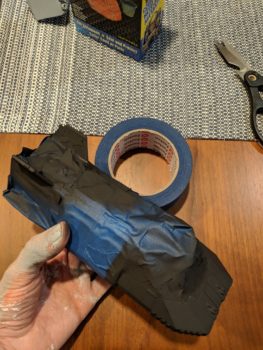
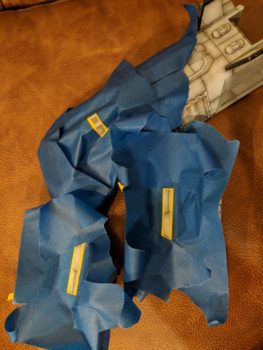
What I really love about this combo is the ability to get soft gradients (typically reserved for those good at wet-blending or airbrushing) with very simple, low-skill barrier techniques. Seal ‘er up with dull-coat again, and then I masked for my black pattern and sprayed away! Note that I probably should have done my blue at this point as well, but I hadn’t yet decided on the color.
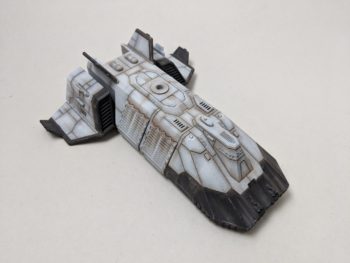
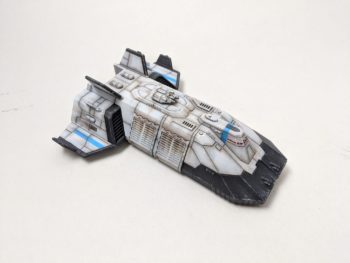
Now, we’re going to dirty it up again. No black pigment this time, but greys and browns, and we’re going to streak directionally — downwards for rust streaks, towards the back for carbon scoring and re-entry scuffs and scrapes. All of this can be done pretty loosely, just make sure you don’t touch your pigment until it’s been affixed by dull-coat. I also added just a bit of chipping on the nose area with white pen and black pen.
Last but not least, I masked for some hilight colors, and added a tiny drop of Army Painter Red Tone to each window — the wash will pool towards the frames, giving you a natural but subtle jeweling effect.

